Tuesday, March 17, 2009

Master Slides

I have a useful tip for PowerPoint, so here's the scenario, you have a deck of slides to build, and you need to customize them with logo and such but you want to save time and avoid doing repeatitive copy+paste on the individual slides (especially for those logo which are to be placed in your slides). Here is my deck which is on Earth Hour 2009:

In order to begin customization work, click on the View tab, and select 'Slide Master' from the Presentation Views group.
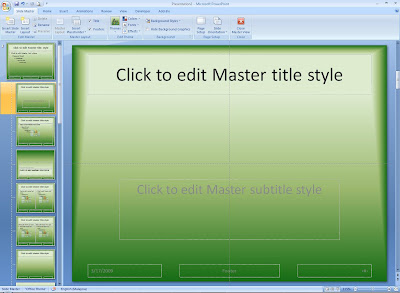
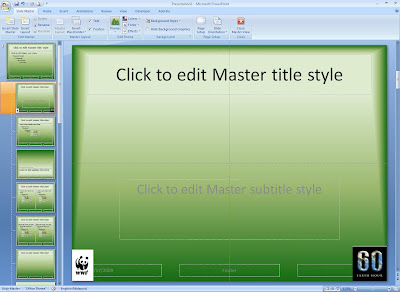
This is how the Slide Master view looks like, all the different slide layouts are lined up on the left.
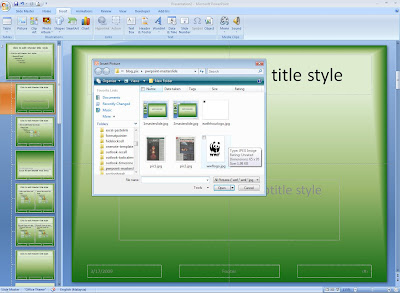
Like I mentioned earlier, I need to insert the logo into the slide. I do that by selecting on the layout (Title Slide Layout) in which I want this logo to be placed, click on the Insert Picture from the Insert tab. The logo which I will now insert is the WWF panda logo and after this the EarthHour logo.

Move these logos to the desired locations. I want these logos in the Title and Content Layout as well, so I have repeated these steps for that layout.


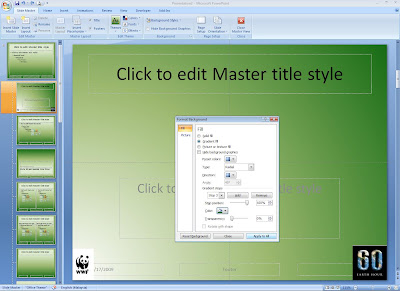
Hmm..I'm not too satisfied with the background gradient, let me do some adjustments first - Slide Master tab, Format Background and enter the changes in the dialog box.

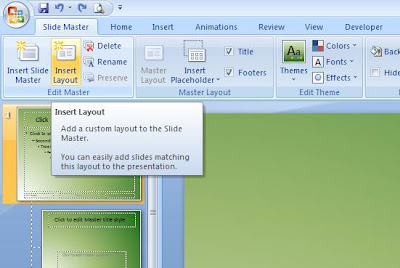
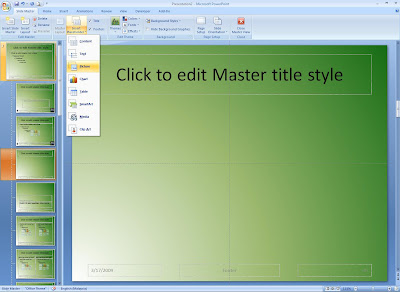
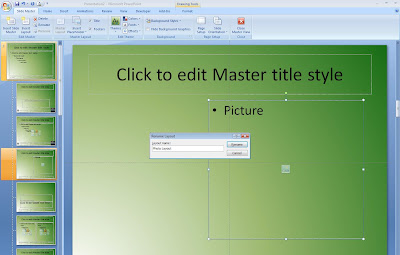
You can also Insert Layout and Insert Placeholder from the Slide Master tab.


I have chosen to Rename my new layout with a picture placeholder 'Photo Layout'.

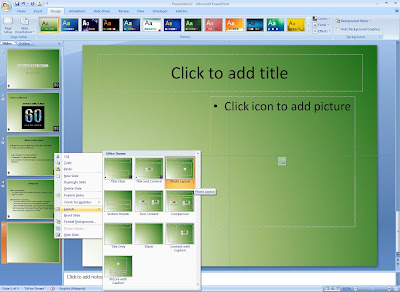
Now Close Master View (still in the Slide Master tab, far right) to return to the normal slide layout. I have inserted a new slide, and when I right-click to change the layout of the slide, I see the 'Photo Layout' there which I just created. Notice that my logos have appeared in my other slides too according to the layout (Title Slide Layout and Title and Content Layout) that was selected.
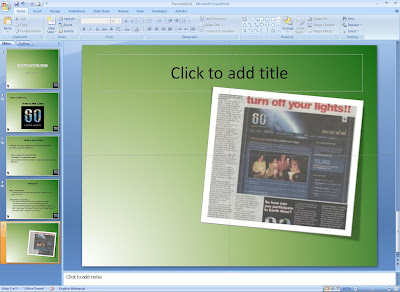
To insert a picture into the placeholder, I simply click on the icon and select the picture of my choice.


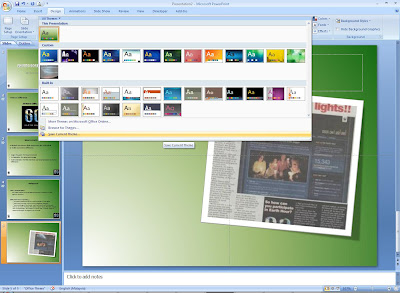
Don't forget to save the theme so that you can reuse it in future. Go to Design tab, click on the dropdown for Themes, and you will find the option to Save Current Theme where you will be prompted to rename the theme, please do not change the default path or location for theme to be saved in.

I feel Slide Master is important to save all that time we spend on copy + paste and rearranging elements in our slides, give this a try :)

Monday, March 9, 2009

Outlook's Time Zone

A colleague of mine recently wanted to book another the time with someone from the London office (we're in Malaysia) for a meeting/conference call and she asked me how to do it. The Outlook calendar follows the local time, so we must always remember when it comes to diversity cases such as this, we need to check on the other person's time zone too to find the best time for both parties.
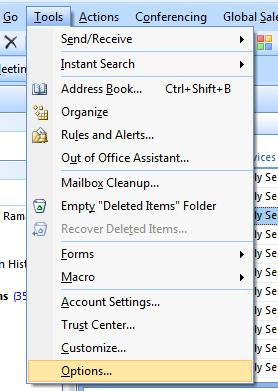
Outlook allows us to add a second time zone to our calendar. Alright, first click on Tools in the menu, and go right to the bottom of the list, and select Options.


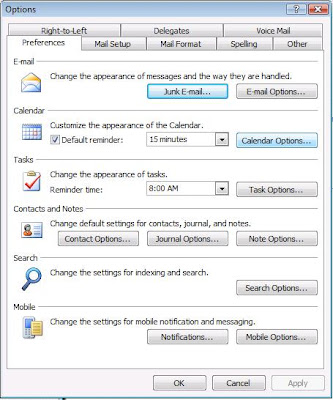
Next, choose Calendar Options in the Calendar group.


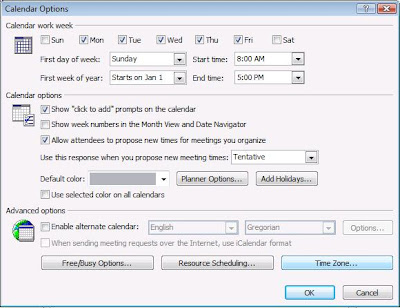
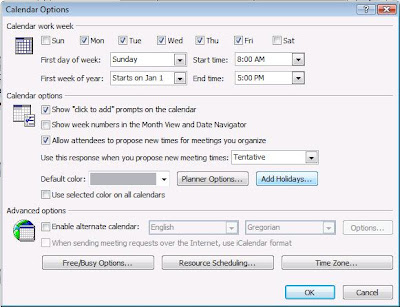
In the 'Calendar Options' window, click on Time Zone... in the Advanced options below.


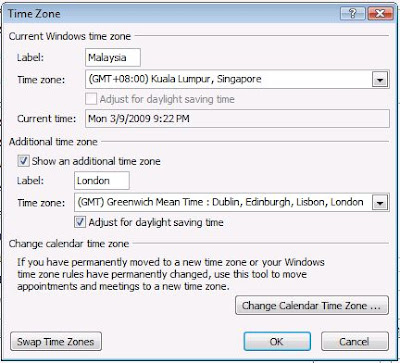
Here if you noticed, I have labeled my Current Windows time zone (local time zone) as 'Malaysia', then now to show an addtional time zone, check the box for that option and label it appropriately. After that, select the location from the Time Zone drop-down list. I have chosen London. Immediately after doing this, I see the checkbox for 'Adjust for daylight saving time' selected, so this option is only for relevant places which experience daylight saving.


Click OK to close all the subsequent windows, and now you have an extra time zone in your Day view of your calendar. Sweet!


Repeat the steps to get you back to Calendar Options window, in the 'Calendar Options' group, you will find a button there which says 'Add Holidays'. This is to have the public holidays for the selected nation to be incorporated in your outlook calendar.


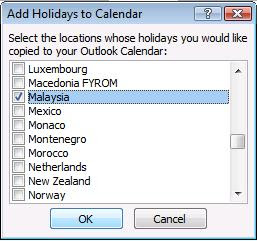
I have selected 'Malaysia' of course, and also 'United States' to display more holidays. It appears like this in your calendar.

Sunday, March 1, 2009

Pain in the neck no more (TOC)

I have always dreaded the part of compiling the Table Of Contents for a documentation. Not anymore because with Ms Office Word, there is a method of automating this :) :) yea....double smiley. Stay tune for this best-kept (not really) feature which makes life so much easier, forget all the manual ways that you have been wasting your time with.

This is a fictitious document that I have prepared, entitled 'Should We Go Green', a continuation of the "green" effort from the previous posting with 'Go Green' powerpoint slides.

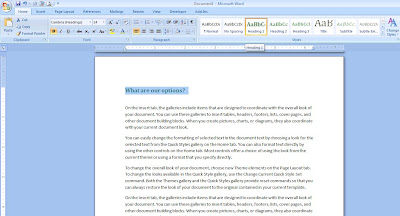
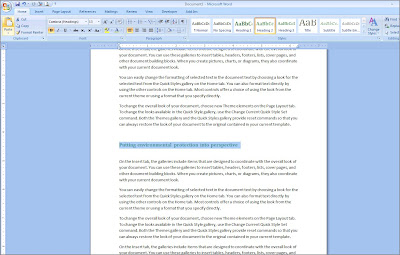
The most important thing here is to set the Styles for ALL the headings in the document. Do this by simply highlighting the heading, and in the Home tab, under the Styles group, choose the appropriate Heading.


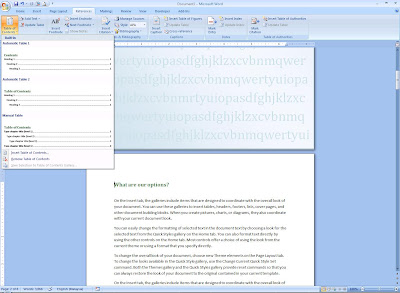
Next step: You can either insert a blank page first or otherwise, then in the Reference tab, click on 'Table of Contents' and you see a few preformatted TOC, just click on the format you want and it will be inserted where your cursor has been placed.


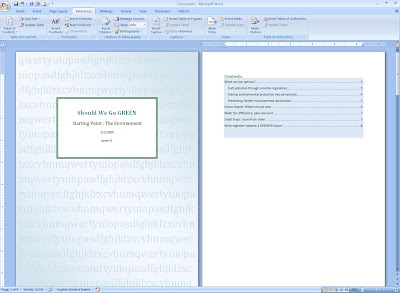
I have inserted mine into a blank page.


To adjust the properties in the TOC, again in the Reference tab, click on the 'Table of Contents' dropdown and this time, choose 'Insert Table of Contents'. Here, you are free to adjust the levels of the heading to suit your document's requirement.
I personally feel that it is crucial to understand the usage of 'Heading' in a document for TOC and also in 'Document Map'.
Right now, I want to create my own TOC format and this is how it looks like. To save it into the TOC gallery so that I may see it with the other preformatted TOC, just click on the 'Table of Contents' dropdown and select 'Save Selection to Table of Contents Gallery'.


You then get to name this TOC format, I am calling mine 'Document Content'.


Here it is in the new list of preformatted TOC.


If you have made any changes in the document, to update the TOC, do a right-click and select 'Update Field' and Word will do all that for you :)


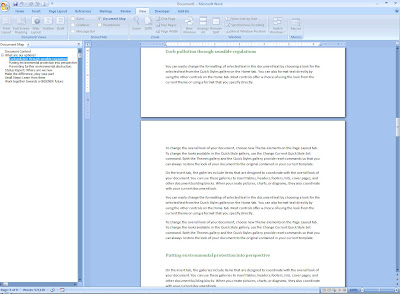
After your document is done, and you've sent it to a colleague for a review, thanks to Headings and TOC, he/she can easily navigate through the document via Document Map.